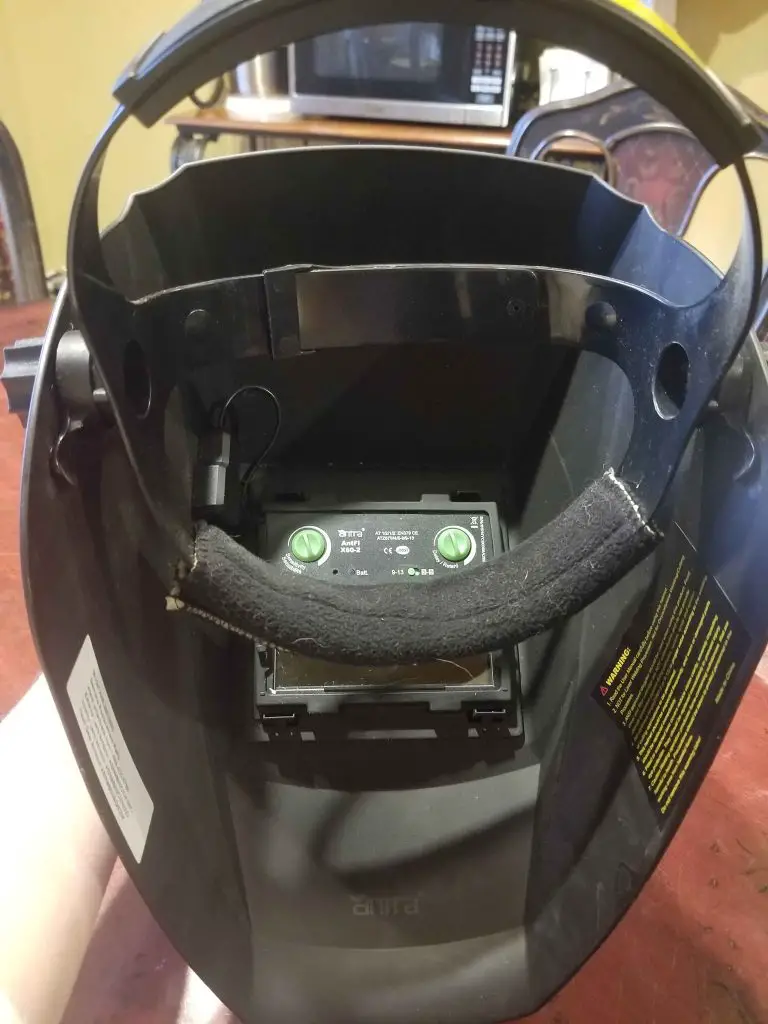
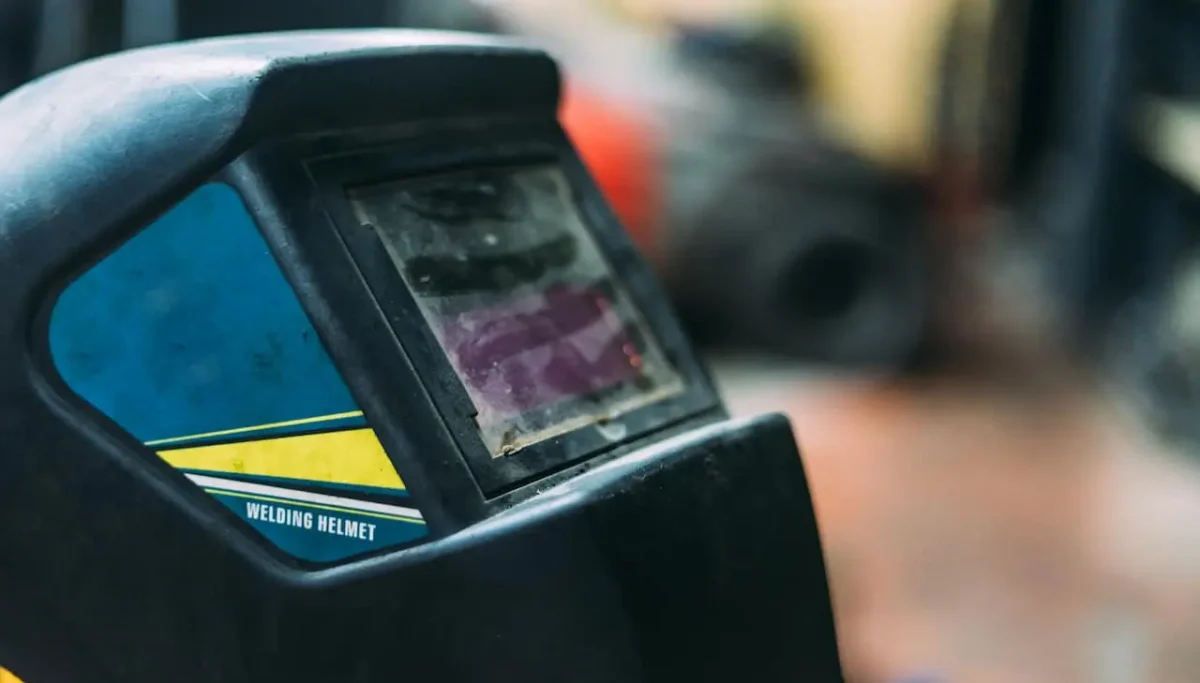
Welding helmets are an important part of your safety gear. They protect your vision from the bright flash of a welding arc and your face from sparks that might fly toward the most sensitive parts of your body. However, for your welding helmet to work properly, you must maintain and clean it regularly.
You use your welding helmet in a pretty dirty setting, exposing it to dust, fumes, and other debris. This debris makes your helmet look dirty and compromises its ability to work properly.
Here are more details on how to properly clean your welding helmet.

Table of Contents
Why You Need to Clean a Welding Helmet
An important part of using a welding helmet is what you do with it afterwards – namely, cleaning and maintaining it.
Cleaning a welding helmet is not just important for aesthetics—although you should want to keep your equipment neat and clean if you take pride in your workshop. First, you need your helmet to be functional. When the lens is blurred with dust and other debris, you can’t see through it and do your job properly. Poor visibility also leads to workplace injuries, and you already know that welding is one of the most dangerous jobs in America.
If you let too much time pass between cleaning periods, you can cause damage to the expensive parts of your welding helmet. Built-up dirt can permanently damage your lenses, controls, and other parts of the helmet. While replacing parts is easier than replacing the whole helmet, you still want to avoid any unnecessary damages and replacements.
TIP: If your welding helmet is damaged beyond repair, have a read through my guide to choosing a brand new welding helmet for beginners.
Lincoln Electric Viking Auto Darkening Welding Helmet
- Large 12.5 Square Inch Auto Darkening Lens
- Premium Optics with a Crystal Clear View
- Comfortable Adjustable X6 Headgear
- 3 Year Warranty
Antra AH6 Auto Darkening Welding Helmet
- Full Face and Neck Protection
- Highly Responsive Arc Sensors
- Extremely Lightweight Design for Reduced Muscle Fatigue
- Sonar Panels Extend Battery Life
YESWELDER Solar Powered Auto Darkening Welding Helmet
- Suitable For TIG, MIG, MMA
- 8 Square Inch Viewing Area
- Comes with Replacement Lenses
- Comfortable Pivot Style Headgear
- Get 10% Off with Discount Code 'BWG' at Yeswelder.com
How to Clean the Lens
One of the most important steps in cleaning your welding helmet is cleaning the lens. After all, you need to be able to see through the lens to work! Plus, the lens is the part of the helmet that collects the most dirt. You should clean your welding helmet lens daily.
To clean the lens, follow the following steps:
1. Remove the lens. Most welding helmet lenses either remove easily or pop out with some work with a screwdriver.
2. Wipe away the dust. Then, gently buff the lens to get rid of the dust. You can use gentle material because you don’t want to damage the lens. Suggestions include a soft-bristled brush or a buffing wheel.
3. Get rid of any built-up grime with a lens solution. If it’s been a while since you cleaned the lenses or you were doing a very dirty job, there will be some dirt spots left over. Spray the lens with lens solution, then wipe it in soft, gentle circles using a soft cloth.
4. Replace the lens and store your welding helmet.

Use Compressed Air
Compressed air is an important asset when cleaning lots of equipment, including your welding helmet. Compressed air ensures that no pesky dust particles will stay on your helmet. It also makes it much easier to clean hard-to-reach crevices that you can’t polish with a cloth but where dirt is most likely to gather and start trouble.
To use compressed air to clean your helmet, first, wipe down the helmet with a cloth to get rid of most of the dust. Then, take out your compressed air canister or duster. Add the nozzle and aim it at your helmet. Spray it in a short, 3–5 second burst, then let the can rest before spraying again. This way, you get the most pressure out of the can and the most cleaning power.
For safety reasons, ensure your helmet is turned off and unplugged. Compressed air could damage the mechanism if your helmet is turned on.
Use Helmet Cleaner Chemical
After cleaning your lens and getting the dust off your helmet, the next step is to take care of the helmet’s shell. A helmet cleaner chemical works as a degreaser, removing persistent grease spots without leaving streaks.
Apply a few drops to the helmet shell to use a helmet cleaner chemical. Then, rub it with a soft cloth or terry cloth. Make sure you buff it completely to avoid leaving streaks.
Disinfect the Helmet
After you clean the helmet of any surface-level dirt, you also need to disinfect it. Your helmet is near your face all day—you don’t want to be in contact with all the bacteria that live there!
Use a special disinfectant designed for welding helmets. Spray it all over your welding helmet, especially the parts against your face. Let the solution dry completely.
Dry the Helmet
Before storing your helmet, you need to dry it. You can use a plain bathroom towel for this. Use large, sweeping motions to remove any water droplets or cleaning residue.
Store the Helmet Properly
Proper storage goes a long way toward keeping your helmet in good shape. A few tips for proper storage include:
- Keeping it in a welding bag at all times
- Securing it someplace where it won’t fall
- Let it dry and ventilate properly before storing it away
- Putting it in a place that is not exposed to sunlight, high heat, or dust
Protect the Electronics
If you are using a high-tech auto-darkening helmet, you will need to take extra precautions when cleaning to ensure you don’t damage any electronics.
Turn off the power completely when cleaning. Remove the batteries and be careful not to touch the battery slots.
Use gentle tools and motions when cleaning, especially the lens. Auto-darkening lenses contain sensitive electronics that will get damaged if you use too much pressure.
Make sure you use just water or cleaners designed for welding helmets. Harsh cleaning materials could damage the electronics.
Final Thoughts
Cleaning a welding helmet is important for your safety and for keeping the helmet functional. To clean it, ensure all electronic parts are turned off and removed. Clean the lens and remove the dust with a cloth and compressed air. Finish by disinfecting, drying, and storing the helmet properly.


