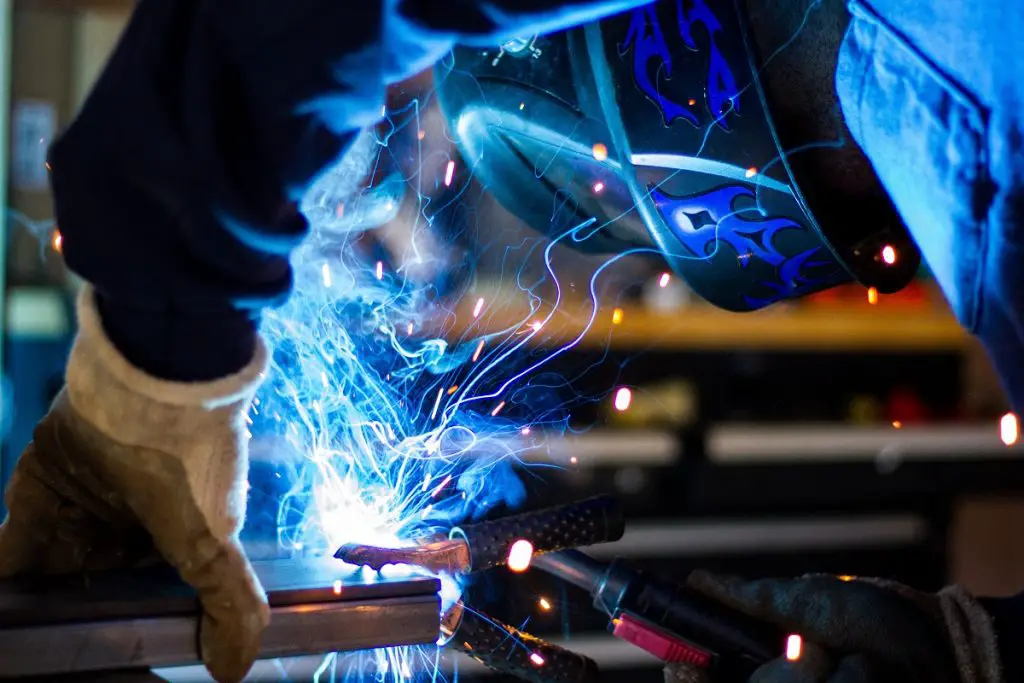
Read any welding website (including this one), and they’ll all tell you that one of the most important things you need when starting out is safety equipment. Welding helmets are becoming more popular as a convenient way to protect yourself while welding. However, that gear won’t be effective if you’re not using it right.
If you’ve upgraded your gear to include a welding helmet, here is what you need to know about this nifty equipment.

Table of Contents
Types of Welding Helmets
You will encounter a few different types of welding helmets as you shop around. Here is a quick guide to the most common ones. Although the most basic welding helmets have been around since the 1930s, new types are more high-tech.
Auto-Darkening Welding Helmet
Auto-darkening welding helmets have an LCD system that is clear when working normally but automatically darkens the visor when you strike an arc. There are two types of auto-darkening welding helmets: variable shade and fixed shade. Variable shade helmets allow you to choose between different shade settings depending on the brightness of the arc, while fixed shade helmets have only one shade.
Fixed shade helmets are going out of style, and I recommend getting a variable shade one. However, they are a bit pricey for beginner welders.
Lincoln Electric Viking Auto Darkening Welding Helmet
- Large 12.5 Square Inch Auto Darkening Lens
- Premium Optics with a Crystal Clear View
- Comfortable Adjustable X6 Headgear
- 3 Year Warranty
Antra AH6 Auto Darkening Welding Helmet
- Full Face and Neck Protection
- Highly Responsive Arc Sensors
- Extremely Lightweight Design for Reduced Muscle Fatigue
- Sonar Panels Extend Battery Life
YESWELDER Solar Powered Auto Darkening Welding Helmet
- Suitable For TIG, MIG, MMA
- 8 Square Inch Viewing Area
- Comes with Replacement Lenses
- Comfortable Pivot Style Headgear
- Get 10% Off with Discount Code 'BWG' at Yeswelder.com
Passive Welding Helmet
A passive welding helmet has a dark lens that you can flip up when you are working regularly and down when you are using an arc. It is simple and gets the job done. If you’re new to welding, you might struggle with coordinating flipping the shade up and down along with your other tasks.
Pancake Welding Helmet
Pancake welding helmets look funny compared to other welding helmets because they are round, like pancakes. There is a darkened viewing window that protects your eyes. This type of helmet is mostly for welding outdoors, for example, for pipeline welding.

Leather Welding Mask
A leather welding mask is a leather hood with a darkened visor that flips up and down. It looks a bit like a hazmat suit helmet. These masks are mostly for people who do overhead welding professionally since it protects you from flying sparks, but they are not very comfortable for welding at home.
Components of a Welding Helmet
Most welding helmets have the same few components, even if they are very different models. These include:
- A visor
- A protective mask that goes over your face
Some components are specific to auto-darkening welding helmets, such as:
- A UV/IR filter that filters out radiation at all times
- Polarization filters to block out the light of the arc
- Liquid crystal cells
- Arc and light sensors to detect harmful light, including very bright arc light
These components are necessary for an auto-darkening helmet to darken and protect your eyes.
How to Control Your Helmet
Controlling the helmet is simple for most welding helmets, such as passive and leather ones. You flip the visor up when you are not welding and flip it down when you are about to turn on the arc.
For auto-darkening welding helmets, controlling them is a bit more complicated. You have to follow these steps:
- Check your helmet for maintenance. Ensure you don’t need to replace the battery and that all features work. Do this in a clean, clutter-free place when you are not welding since you don’t want to find out something’s not working when the arc light is on. Clean the lens to give the most visibility.
- Know your welding setup. Variable shade auto-darkening welding helmets have different darkness options. The higher the amperage of your weld, the brighter the arc will be, so the darker your visor should be. Know this information ahead of time.
- Adjust the settings. Helmets have knobs that allow you to adjust the light sensitivity and delay. Adjust the light sensitivity to the right shade for your working arc and the delay so the helmet darkens in time.
- Test the helmet. You want to test the helmet before you turn on the arc, so you don’t damage your eyes. Let it darken and see if it darkens to the right shade and fast enough.
- Save the settings (if you can). Some high-level welding helmets have memory controls, so once you find a setting combination that works for you, save it for future use.
Features of a Welding Helmet
Here are some features you should look for when looking for an auto-darkening welding helmet.
- Full coverage viewing area to make sure you can see what you are working on
- Controls so you can adjust the settings easily as you work
- High-end light sensors so your eyes are protected, and you’re not fiddling with controls as you work
- Quick reaction time, so the lens darkens quickly enough to protect your eyes
- Batteries, which can be rechargeable or replaceable
- Lightweight material, so it’s comfortable to wear as you work
How to Use a Welding Helmet
Finally, let’s talk about how to use a welding helmet safely.
First, fit the helmet to your head. It should fit snugly without being too tight. That way, it won’t move around and potentially endanger your eyes, but it also won’t squeeze your head like a vise.
Then, adjust the settings. Take into account the brightness of your arc as well as the sensitivity of your eyes.
Next, you can start welding freely. Ensure that the helmet is securely on your head when welding and that the visor is dark enough. If your eyes feel pain or sensitivity, stop welding immediately and adjust the helmet.
Final Thoughts
A welding helmet is a crucial part of protecting your safety while welding. New welding helmets, called auto-darkening welding helmets, make protection even easier because they darken automatically. To get the most out of your helmet, make sure the lens is dark enough to protect you as you weld and that the helmet fits securely.


