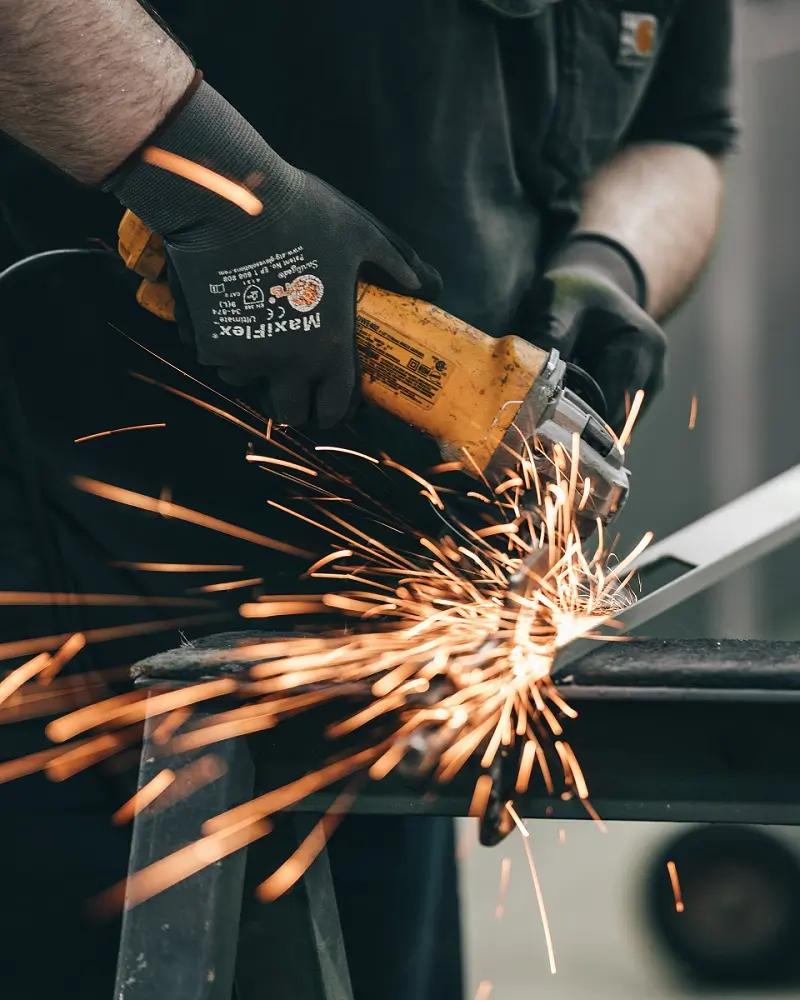
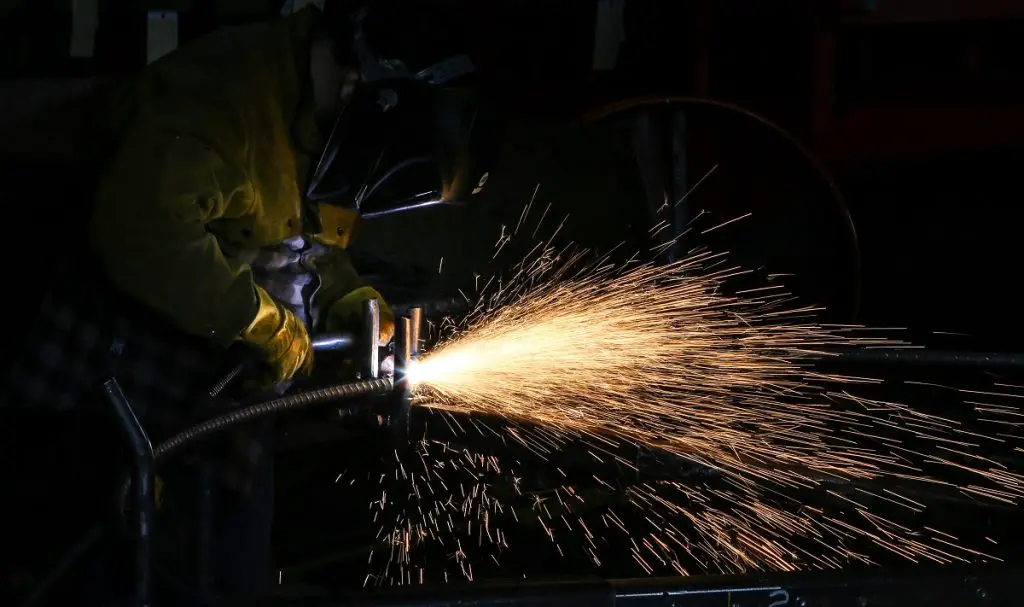
The removal of welds requires either thermal or mechanical techniques. Removing welds may require plasma cutters, torches, grinders, drills, chisels, or circular saws.
Each method for removing welds has distinct advantages, disadvantages, and risks. Explore each technique to determine which is right for your situation.
Table of Contents
Why Would You Need to Remove a Weld?
You may want to remove a weld for a variety of reasons, such as:
- Undoing a bad weld
- Undoing a damaged or loose joint
- Salvaging parts
Fixing a mistake is a common reason for removing a weld. You may find that the weld was poorly executed, which limits the strength of the joint. Removing the weld allows you to redo it.
Signs of a bad weld include:
- The bead is too thin
- Cracks appear in the middle of the bead
- The welding line is not uniform
- The parent metal is discolored
- The weld is porous
These signs indicate a poor weld, which may eventually cause the joint to crack or break. You may also need to remove welds to fix damaged joints on existing assemblies.
Removing a weld is also sometimes necessary for salvaging parts. You may need to remove a weld to save one or more components from an assembly.
You can remove welds using thermal or mechanical equipment. Thermal methods involve the use of high temperatures to liquefy the metal and undo the weld. Examples include plasma cutters and torches.
Mechanical methods for removing welds involve the use of tools for cutting, grinding, or breaking apart the weld. Examples include grinders, circular saws, and chisels.

How to Remove Welds Using a Plasma Cutter
Using a plasma cutter involves directing a hot stream of plasma at the weld. Plasma cutters are faster and easier to use compared to manual torches.
The typical plasma cutter can produce temperatures up to 45,000 degrees Fahrenheit.
As with a welding torch, the plasma cutter creates an electric arc with the help of a direct current (DC). The arc creates tremendous heat, which melts the metal.
Here are the steps involved in using a plasma cutter to remove welds:
- Use a marker to mark the area you want to cut.
- Secure the workpiece with a vice or clamp.
- Prepare your work area and protective gear.
- Connect and power on your plasma cutter.
- Cut the desired area.
- Turn off your plasma cutter.
- Allow the metal to cool before handling.
Most plasma cutters require an air compressor. You need to connect the plasma cutter to a power source and the compressor before you start cutting. You may also need to attach a ground clamp to the metal that you plan to cut.
Attach the fittings and turn on the air. Turn on the machine and set the proper current. Many plasma cutters include a dial for adjusting the current and may include several preset options, such as 25 amps or 40 amps.
You typically want about 40 amps to cut through about ½ an inch of steel. Using a lower current will limit your cutting speed and the cleanliness of the cut.
The trigger on the plasma cutter activates the arc. A plasma cutter with a high frequency (HF) design requires you to touch the tip of the nozzle to the metal to start cutting.
You can start cutting without touching the tip of the metal when using a plasma cutter with pilot arc technology. These cutters produce cleaner cuts and go through consumables at a slower rate.
A plasma cutter is an efficient choice for cutting through metal and removing a weld, as it can cut through almost any electrically conductive metal, including:
- Steel
- Aluminum
- Copper
- Brass
A plasma cutter doesn’t work well when cutting through metals with poor conductive properties. This includes lead, tin, and tungsten. A welding torch may be a better choice if the welded materials contain metal with poor conductive properties.
How to Remove Welds Using a Torch
Using a torch is another thermal method for removing welds. It involves using an oxy-fuel welding torch, also called a gas torch or an oxyacetylene torch. These torches burn a combination of acetylene and oxygen to create hot flames.
The flame’s temperature on a manual torch can reach 6,000 degrees Fahrenheit.
A torch doesn’t get as hot as a plasma cutter, resulting in slower cutting speeds. You may also struggle to remove deep welds.
Yet, you may already own a torch as part of your welding setup, making it a convenient alternative to a plasma cutter.
Using a torch to remove a weld involves many of the same steps as using a plasma cutter. However, you need to adjust the flame before you start cutting.
The typical process for lighting and adjusting a torch includes the following steps:
- Purge the oxygen and acetylene lines separately.
- Partially open the fuel gas valve.
- Use the striker to ignite the flame.
- Slowly increase the flow of gas until no smoke is present.
- Decrease the flow of gas until the flame reaches the tip.
- Slowly open the oxygen valve to achieve a 50/50 mix of oxygen/acetylene.
Always shut off the acetylene torch first when you’re done cutting. You should also store the cylinders away from all other flammable materials.
You also need to wear proper protective gear when using welding equipment. About 60 workers die in the US each year from welding-related injuries.
Protective gear includes welding helmets, heat-resistant gloves, hearing protection, and long-sleeved attire.
How to Remove Welds Using a Grinder
Angle grinders are often used to clean up the beads after completing welds. You can also use an angle grinder as a mechanical method for removing welds.
You may not get as accurate of a cut as a plasma cutter. Yet, an angle grinder doesn’t require high temperatures, which protects the metal from changes to its chemical properties.
- Powerful 7.5 Amps
- No-Load 11,000 RPM
- Cast Aluminum Housing
- Quick Release Grinder Guard
- Powerful 13 Amp Motor
- 8,500 RPM Grinder Speed
- Adjustable Guard
- Runs off of AC/DC power
- 3/4 Horse Power Induction Motor
- Rugged Cast Iron Base
- Precision Machined Aluminum Tool Rest
- Rear Exhaust Ports in Wheel Guards
Here are the steps involved in removing a weld using an angle grinder:
- Mark the area that you plan to cut.
- Secure the workpieces with clamps or a vice.
- Put on gloves and goggles.
- Slowly cut the metal with the grinder.
- Turn off the power and allow the metal to cool.
The angle grinder can cut through metal, but you need the right disc. Metal grinding discs and metal cut-off discs work but wear down quickly.
I’ve found that diamond blade discs made for cutting ferrous metal work best. These discs last longer and provide a cleaner cut.
Always wear proper protective gear before cutting metal with an angle grinder. The spinning disc sends metal debris flying.
Cover your skin with a long-sleeved shirt, pants, gloves, and safety glasses. You may even want a face shield for more thorough protection.
Work slowly and allow the grinder to do the cutting. You don’t need to apply much pressure.
You may want to stop periodically and check your work before continuing. Allow the metal to cool entirely before handling.

How to Remove Welds Without a Grinder
Other mechanical methods for removing welds without an angle grinder include using a drill, a hacksaw, or a hammer and a chisel.
Mark the area you want to cut before using a tool to remove a weld. Work slowly to avoid making mistakes. Continue using your cutting method until you can separate the metal pieces.
You may use a drill on certain materials, such as when salvaging one part of an assembly, as it may destroy the connected part.
Drill a series of holes along the line of the weld. The holes should weaken the strength of the joint. Use a mallet or hammer to remove the piece you want to salvage.
You can use the same technique with a hammer and a chisel. Position the chisel at the start of the weld and hammer it through the joint. Repeat this process along the bead of the weld until it’s weak enough to break apart with a hammer.
How to Remove Welds Using a Circular Saw
Using a circular saw to remove welds involves mostly the same steps as using an angle grinder.
Use a vice or clamp to secure the workpieces. You need to mark the area that you want to cut and work slowly.
Choose a ferrous-metal-cutting blade. Both carbide-tooth and steel-tooth options are suitable. However, the carbide-tooth blades tend to last longer.
Remember to wear protective gear, including gloves and goggles. The saw sends small chips of hot metal flying, which can pose a hazard.
Conclusion
Removing a weld is a common task for welders, especially for novices. You may need to remove a poor weld to fix your mistakes.
You can melt the weld using a thermal method, such as a plasma cutter or a torch. You can also remove welds using mechanical tools, such as angle grinders, saws, and drills.
Mechanical methods are often safer for you and the metal, as they don’t involve high temperatures. However, thermal methods are often faster and more accurate.


