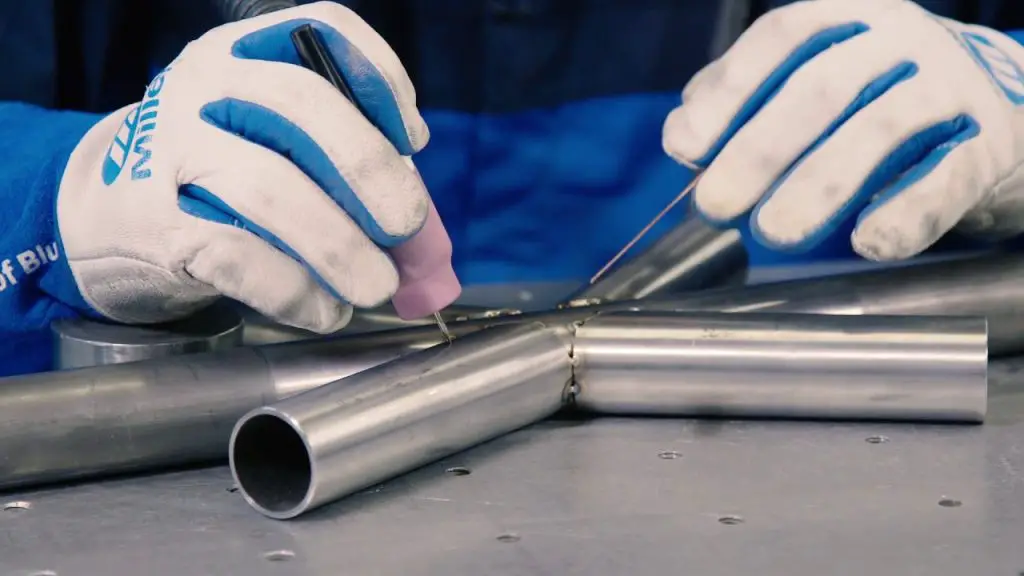
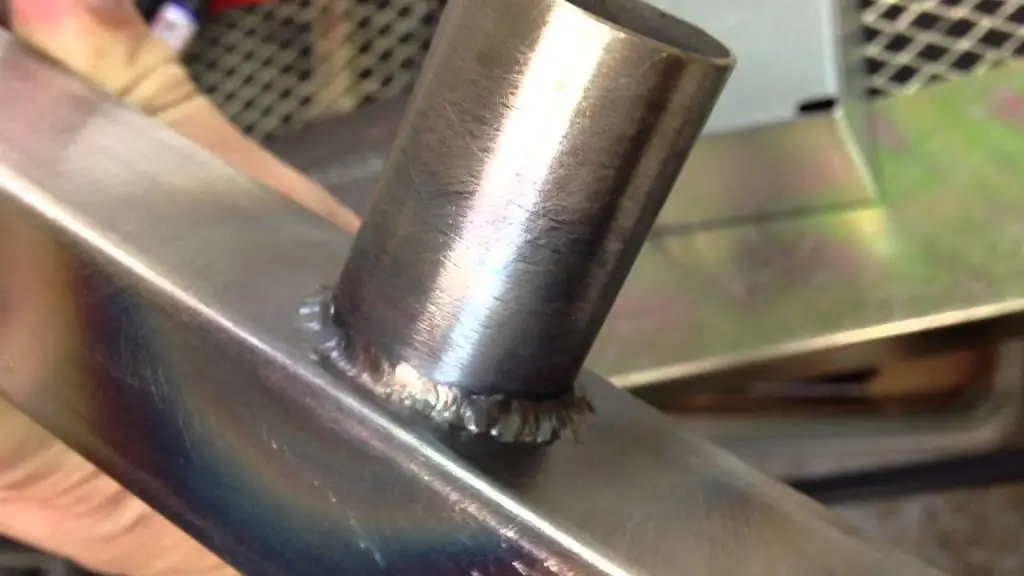
To weld Chromoly, first clean and remove contaminants. Preheat the material to 300-400°F (149-204°C). Use a TIG welder with a 70S-2 or ER80S-D2 filler rod and employ a back purge with argon gas. Weld slowly, maintaining consistent heat, and allow gradual cooling to prevent brittleness.
Chromoly is the informal name for 41xx steel, an alloying steel strengthened with chromium and molybdenum. The Molybdenum ratio is 0.15%-0.25% by weight while the Chromium is 0.8%-1.1% and the carbon ratio is just 0.30%.
Chromoly has an excellent weight-to-strength ratio and great elongation, which makes it ideal for projects that require less weight, but a lot of strength and ductility.
Due to its properties, Chromoly is mostly being used in the aviation industry and motorcycling and car racing. But, you will also see it being used for a roll cage or a bumper on regular jeeps.
Welding Chromoly is a bit different than welding other regular alloys. It requires a bit more preparation and knowledge to work it, but it’s not very temperamental and the following tricks of the trade will help you master it in no time, even if you’re a beginner.

Table of Contents
Step 1. Prepping the Tube – Cleanliness is Critical
First and foremost, whenever we’re dealing with any kind of welding, cleanliness is essential.
When it comes right out of the mill, Chromoly will have a little bit of a finish. You’ll need to clean and prep the tube for welding. The material is super thin so any bit of mill residue will be a problem. You may get away with not prepping the tube, however it’s not worth the risk of having cracks or inclusions in your material.
If you have access to a lathe, we highly recommend to run your tube through a lathe on a slow-to-medium speed, but cleaning by hand works as well. From there you can acetone to get off any dust and then you’re set.
If you prep both pieces properly, your weld turns out a lot cleaner, a lot smoother, and with a lot less crystallization.
Step 2. Proper Fit and Tacking
The second step in the process is the fitment and the tacking. Anytime you’re dealing with Chromoly, remember that this is a temperature-sensitive metal. When you want to introduce heat to it, you want to do it gradually, keeping your arc length a lot tighter than usual.
In order to keep it in place, I would recommend a lot of small tacks over one or two big ones, as small tacks are a lot more consistent and easier to weld around.
As for the fitment close, if you have a gap at all, you need to close it up. Any type of gap you have to fill with filler metal is going to cause a lot more heat affected zones being generated in that area and it will cause it to be more brittle in that spot.
Anytime you give Chromoly – which is already a pretty hard metal – a chance to be harder, you’ll just expose yourself to the possibility of cracking.
Step 3. Torch Setup
The most important thing about torch setup is to choose a torch best suited for your application. I usually recommend to switch down to a 9/20 sized torch so that you can get into tight spaces with ease (if you’re working on a roll cage for instance) since when you’re doing multi-hours welds the mobility and the torch’s lightweight end up mattering a lot. Regarding TIG Welders, any
Another thing you should change out when you weld Chromoly is to go for a gas lens over a regular nozzle. You have a couple of different options for gas lenses, they are fairly standard at any welding supply store, but I always recommend going for a large lens over a small one.
Because of the diameter of the shield gas coming out of the nozzle on a large lens, you’ll be able to hang out your tungsten a bit farther, and get into tight corners without any trouble at all.
Step 4. Choosing Filler Metals for Chromoly
When it comes to Chromoly welding, there are only 3 options that you have available as filler metals.
The first two choices are the ER80S-D2 and ER70S-2. They are fairly common at any supply store so you won’t have any trouble finding them. The ER80S-D2 has 80,000 tensile strength, and it’s really close to Chromoly, so it’s a great choice for any type of Chromoly welding. The ER70S-2 has less tensile strength (only 70,000) but it does have a little bit more flexibility to it.
The third choice is straight 4130 Chromoly to match your material, but it’s not an option with Thin Wall Tube.
Step 5. Chromoly Welding Tips
You don’t need to preheat the metal for anything under 0.120” thickness, but if you have the time it will not hurt to preheat at 100 Fahrenheit degrees just to eliminate the moisture. For tubing over 0.120”, a 300-400 Fahrenheit degrees preheat is required.
Try to weld Chromoly slower than normal, especially if you’re using a TIG welder.
Use a lift arc start instead of a scratch start, since a scratch start will be a little bit more unstable with the arc going and then you’ll need to find your place and go from there. With a lift arc start you just touch the tungsten to the base metal, start the pedal, then lift and go.
When welding Chromoly you want to slope in and out as gradually as you can. Chromoly it’s a bit more temperamental so you don’t want to shock it since this will also cause it to become brittle.
You want to keep your tungsten as close to the material as possible so that the arc cone is a bit more narrow.
When you’re finished, you need to cool the weld as slow as possible. Fast cooling will lead to cracking so avoid having any sort of breeze in the room.
If you are new to welding, then read through our beginner welding guide.

