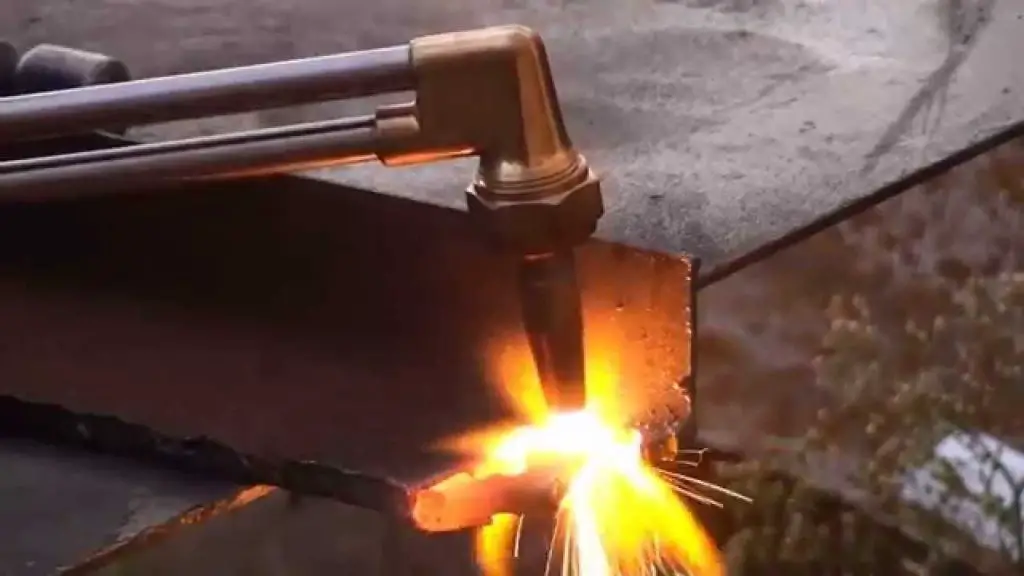
Welders use oxy/acetylene cutting torches to cut through metal by mixing oxygen and acetylene and creating a 6300-degree Fahrenheit flame.
Using fire to perform work carries risks. However, with a little precaution and knowledge of the process, cutting with a torch can be done safely.
Table of Contents
The cutting torch and its parts
Oxygen and acetylene gases come together and are mixed in the handle. The volumes for each are fine-tuned with adjustment valves on the handle. The proper flame setting needs to be achieved before cutting steel. The fuel gas is acetylene. Oxygen is added to increase the heat to as much as 6300 degrees Fahrenheit. Each gas is contained in its own, separate cylinder.
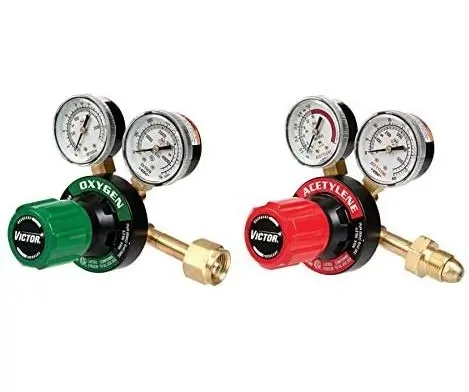
Regulators are connected to control the high pressures in each bottle and reduce or regulate the pressures to a usable level. On top of the handle where the gases are mixed, is where the cutting torch assembly is attached. A third valve is part of the cutting attachment. This additional valve is the second valve in line controlling the flow of oxygen to the cutting tip. The first valve in line (the one on the handle) is left fully open.
A lever on the back of the cutting assembly supplies full oxygen pressure to the tip at will. This pressure and flow is completely unrestricted and regulated by whatever the regulator on the oxygen bottle is set to.
To summarize, the parts of the cutting torch consist of:
- Oxygen and acetylene bottles
- Two regulators, one for each bottle
- Two hoses, one leading from each regulator and each ending at the handle.
- The handle
- A cutting torch assembly with changeable tips
How to use a welding torch?
Welders use cutting torches to cut through metal. It’s a critical step in the welding process; if it’s not done properly, the weld can be ruined. Here are the steps to take before you start cutting:

Things to do before you cut with a Cutting Torch
Here are essential steps to take before you start cutting:

- Remove all flammable materials well away from the cutting area
- Flammable materials include dry materials such as paper, cardboard, sawdust and dry grass
- Station a fire extinguisher nearby
- Wear goggles and heavy leather gloves
- Wear flame-retardant clothing or well-fitting 100% cotton clothing with no frayed edges
- Good leather boots are recommended
- NEVER wear nylon or any synthetic or synthetic blend material around welding or cutting. It can melt to your skin.
- Have your metal marked with soapstone precisely where you want to cut. Soapstone will allow you to see the marked line just ahead of the torch tip.
- Only use a striker made specifically for igniting a cutting torch.
Setting the regulators
The regulators are specific to either the oxygen or acetylene bottle. They cannot be accidentally switched because the oxygen bottle has a male right-handed thread connection and the acetylene bottle has a female left-handed thread connection.
Once the regulators are connected to the bottles and the hoses are properly connected to the regulators and torch handle, its time to properly set them. Note: The acetylene hose will be red with left-handed threads and the oxygen hose will be green with righthanded threads. Be careful not to cross-thread the soft brass fittings and do not overtighten. Just snug the fittings up to the point they do not leak.
With the control knobs on the torch handle closed and the adjustment knobs on the regulators turned all the way down to the lowest setting, slowly crack open one bottle at a time. Once the pressure has equalized between the bottle and the high-pressure side of the regulator, open the bottles up fully.
Acetylene Regulator
Slowly open the knob on the acetylene pressure regulator until the low-pressure side gauge reads between 6 and 8 psi. Slightly open the acetylene valve on the torch to allow a small flow of gas to escape and see if the pressure setting stays where you set it. If not, continue to adjust until properly set. Do not allow the low side pressure on the acetylene regulator to ever exceed 15 psi.
Note: A full bottle of acetylene should read +/- 225 psi on the high-pressure side of the regulator.

Oxygen Regulator
Slowly open the knob on the oxygen pressure regulator until the low-pressure side gauge reads between 30-40 psi. Slightly open the oxygen valves on the torch to allow a small flow of oxygen to escape and verify the pressure setting stays where you left it. Again, if not, continue to adjust until properly set.
Note: A full bottle of oxygen should read +/- 2250 psi on the high-pressure side of the regulator.
Lighting the torch

With the bottle valves wide open and regulators set, let’s light the torch. Ensure the torch tip is pointed away from you and not towards anything flammable.
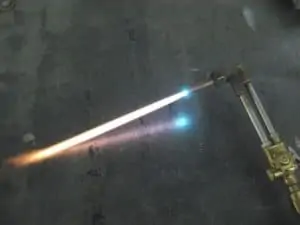
- Slightly crack open the acetylene valve and immediately ignite the gas, leaving the tip with the striker. Adjust the acetylene valve until the yellow flame is approximately 10-12 inches in length.
- Open the oxygen valve on the bottom of the handle fully, then slightly open the second oxygen valve until the flame turns from yellow to blue.
- Continue adding oxygen until the inner, light blue flame constricts toward the tip.
- Once the light blue flame is pulled down to the crown-shaped cone, press the oxygen lever on the back of the cutting torch. The light blue flame should not extend away from the tip. If it does, slightly reduce the oxygen volume by pinching back the valve all while the lever is still depressed.
Making the cut
- Bring the tip down to the point on the metal where you want to start cutting.
- Keep the end of the light blue flame at the metal’s surface until bright red and near the melting point.
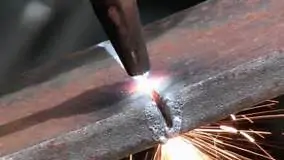
- Press the cutting lever and if the base metal is hot enough the additional oxygen will cause a reaction and the metal will begin blowing away from the tip. If the metal has not reached a high enough temperature there will be no reaction.
- With a smooth, steady hand, direct the tip along the marked path at a speed that allows the complete blow-through of the molten metal until the cut is complete.
What happens during the cutting process?
Once the cutting torch head is attached to the oxy/acetylene handle, it becomes a powerful instrument for cutting metals. The focused flame from the end of the torch tip pre-heats the metal until cherry red. A blast of pressurized oxygen then increases the heat substantially and blows the molten metal directly away from the tip. The initial torch flame only starts the process. The blast of oxygen causing the formation of iron oxide, literally causing the metal to burn, creates the extra heat necessary to cut through the metal. The torch is then moved along a determined path until the cut is finished.
The molten metal blown from the piece being cut is called slag. When the oxy/fuel mixture is adjusted correctly, a clean cut can be made without leaving very much slag attached to the base metal.
