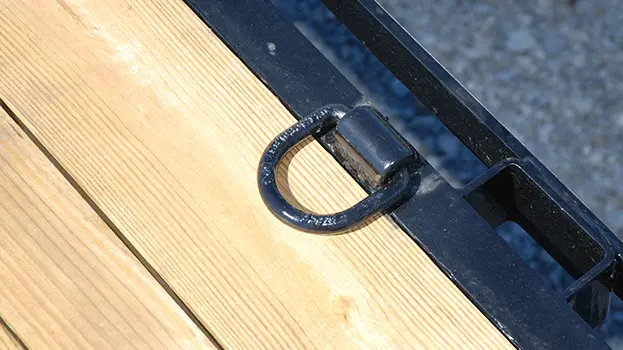
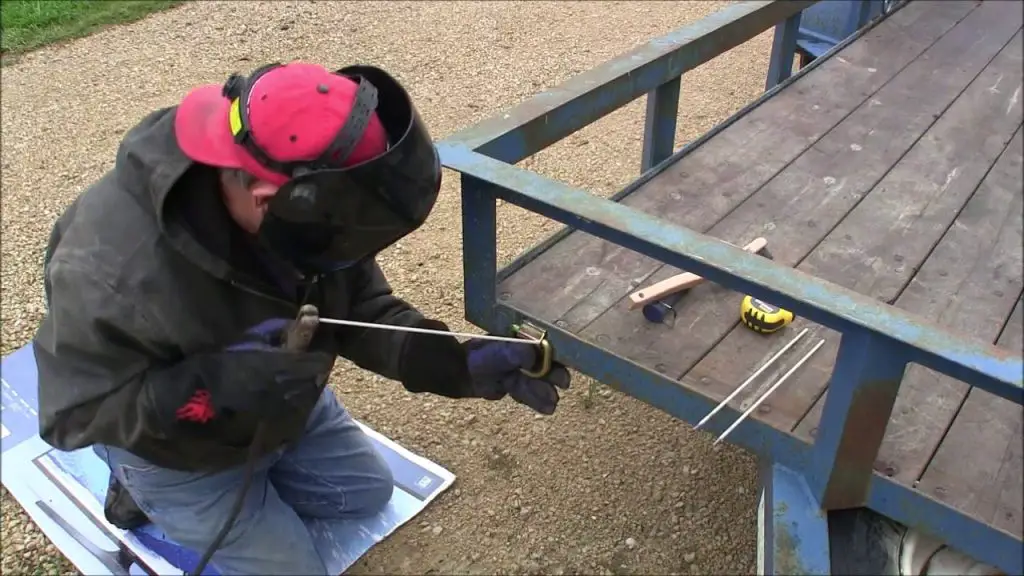
Weld-on D-Rings are typically used to tie or lash down equipment or vehicles to a trailer. Or, possibly, the cargo bed of a truck.
Before choosing a style and the size of the D-Ring to be used you will want to consider a few things, such as:
- What is the weight of the heaviest thing I may ever need to secure with them?
- Where is the best location to place the D-Rings taking in consideration
- The thickness of the metal that is being welded to
- Whether or not the base metal is attached to something of sufficient strength to hold the heaviest load that may ever be secured with the new D-Rings
- How many D-Rings will be necessary to securely hold the equipment?

Table of Contents
What is the weight of the heaviest thing I may ever need to secure with the new D-Rings?
The easiest way to go about this might be to simply look at the GVWR of the vehicle or trailer used for hauling. (GVWR = How much the suspension is rated to carry)
Then subtract the unloaded weight of the vehicle or trailer which leaves the amount of weight that can then be legally hauled. Then, size the D-Rings so they will secure the maximum amount of legal weight and never exceed the GVWR when hauling.
Where are the best places to install the D-Rings?
If, for instance, you bought a trailer to haul one specific item and that item only, placing four D-Rings, one at each corner, will probably be all that you will need.
Unless, that is, the item is unusually large in size. If so, additional D-Rings may be necessary to properly secure the load.
If the cargo area may be used to haul many different sizes and shapes of equipment from time to time, placing D-rings every few feet along each side may be most useful in centering and securing the various loads that may be hauled.
As mentioned above, there are a couple more things to consider before welding your new D-Rings on.
And, both of them have to do with the strength of the area you are about to weld to. For instance, what is the width and the thickness of the base metal? And, what is that secured to? And most importantly, is it of sufficient strength to weld to and securely hold the weight of the load?
Every system has its weakest point and our goal here is to make sure what the entire system (all of its components) can hold is greater than the calculated maximum load the vehicle or trailer is legally capable of hauling. Including:
- The base metal and the structural strength of everything it is fixed to
- The D-Rings themselves
- The weld securing the D-Rings to the base metal
- The straps or chains used to secure the load
- The attachment points on the load itself

The Preparation and the Weld
Remove all paint and rust from the base metal and D-Rings in the areas to be welded.
TIP: Read great article on the how's and why's of removing paint before welding.
If possible, make your welds run along parallel with the length of the base metal whether its angle iron, strap, C- Channel or the like. Making the welds perpendicular or across the base metals can weaken the base metal.
Whether welding with an electrode, MIG or flux core, we highly recommend having a seasoned welder do this work. Having a load break loose and falling off on the highway will ruin your day and possibly someone else’s.
You should also be aware of the electrical implications of welding on a vehicle so you don’t damage any components.

