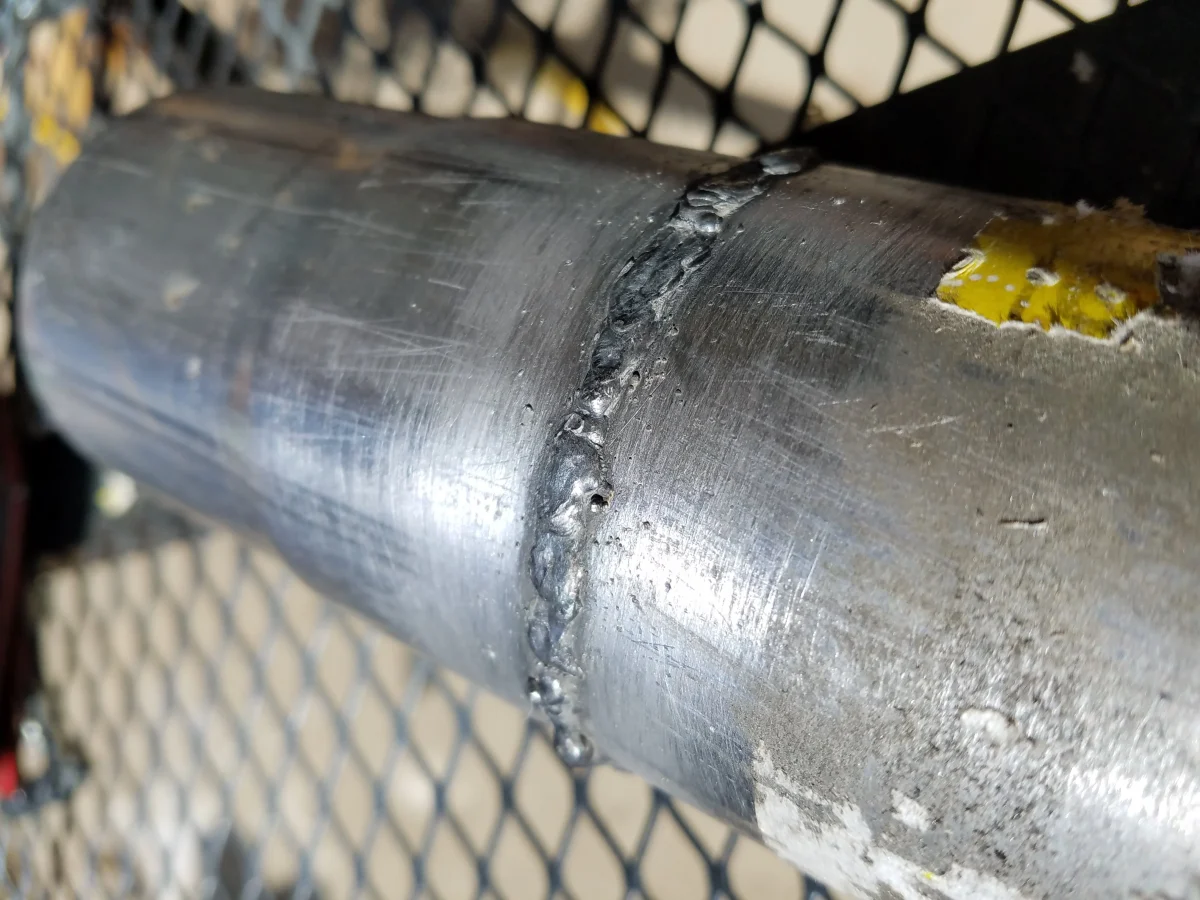
To MIG weld an exhaust pipe at home, clean the pipe, secure it in place, and tack weld the joints. Use a shielding gas suitable for the pipe material (argon/CO2 mix for mild steel) and a matching wire. Adjust settings for low heat input, and use short stitch welds to prevent warping or burn-through.
Once you’re a welder, you open yourself to much freedom. You no longer have to go to the mechanic or call a technician for every problem—you can break out your trusty welder and solve it yourself. One of the problems you can DIY once you’re a welder is a broken exhaust pipe on your car.
MIG welding, which uses a shield gas and filler metal to weld, is ideal for welding thin pieces such as the metal that makes up an exhaust pipe. You can carefully MIG weld your exhaust pipe using tack welding and low heat.
Here is your step-by-step guide to everything you need to know to MIG weld your exhaust pipe.

Table of Contents
Equipment Required
The first step is gathering your equipment. You want to have everything you need within arm’s reach before you start your job—otherwise, you’ll be scrambling with a hot metal around you!
The most important pieces of equipment you will need are:
- Your MIG welding machine and other components, such as the filler wire
- Safety equipment, including gloves, boots, a mask, and a welding blanket (more on this later)
- Clamps to hold everything in place
- A wire brush and a cloth to smooth out your weld and clean up any mess
- Scrap metal if you want to practice your welding before actually working on your car
Safety Precautions to Take
Safety is one of the most important parts of any welding job. Welding is a high-stakes task that could cause injury and even death if you don’t take the right precautions, so considering safety first is crucial.
You need to protect your body first. That means wearing the right protective equipment, such as sturdy welding boots, gloves, long clothing, and a welding helmet.
Set up your workspace so you don’t hurt yourself or damage other parts of your space. Clear the area you are working on to prevent tripping or other hazards. Make sure your garage or workshop is well-ventilated. Protect the rest of your car from sparks with a welding blanket that leaves only the exhaust pipe exposed.
Finally, working on a car means you need to take a few other safety precautions. Turn off the car and make sure all electrical systems are turned off, including the car battery. Welding uses electricity, and if too much electricity coursing through your car, you could damage your vehicle or hurt yourself.
How to MIG Weld an Exhaust Pipe
Here are the steps you need to take to MIG weld your car exhaust pipe.
1. Put Together Your MIG Welder Setup
Prepare your welding machine and your workspace. Clean your workspace and the car exhaust pipe using the wire brush and cloth. You want to prevent debris, such as grease spots, that will affect your welding job.
Then, set up your welding machine. Connect your gas tank to the welder and ensure the hose has no leaks. Turn your shield gas on—this prevents oxidation and damage to the weld.
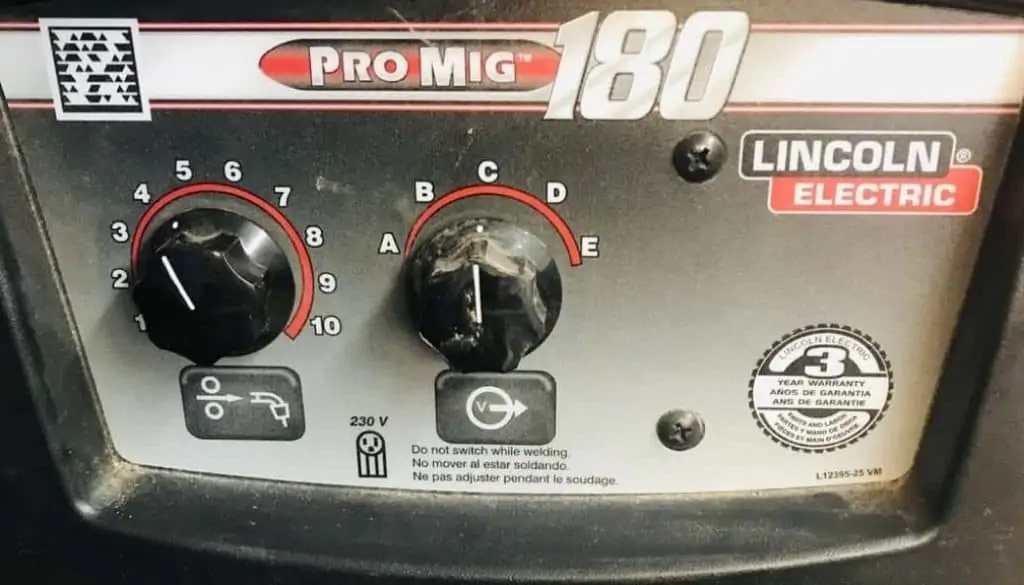
Finally, you can turn on your welding machine and adjust it to the right amperage. Don’t forget to ground your welding machine with an earth clamp. This will prevent electric shocks.

2. Choosing the Right Welding Technique/Pattern
Welding an exhaust pipe requires careful application of the right welding technique and pattern for delicate applications. Exhaust pipes are very thin, so it’s easy to make a mistake and accidentally burn through the metal.
Start by securing your pipe in place. Place clamps or magnets around the area you are welding. Make tack welds, small welds that just tack two metals into place, to hold the piece together. You can go over it later.
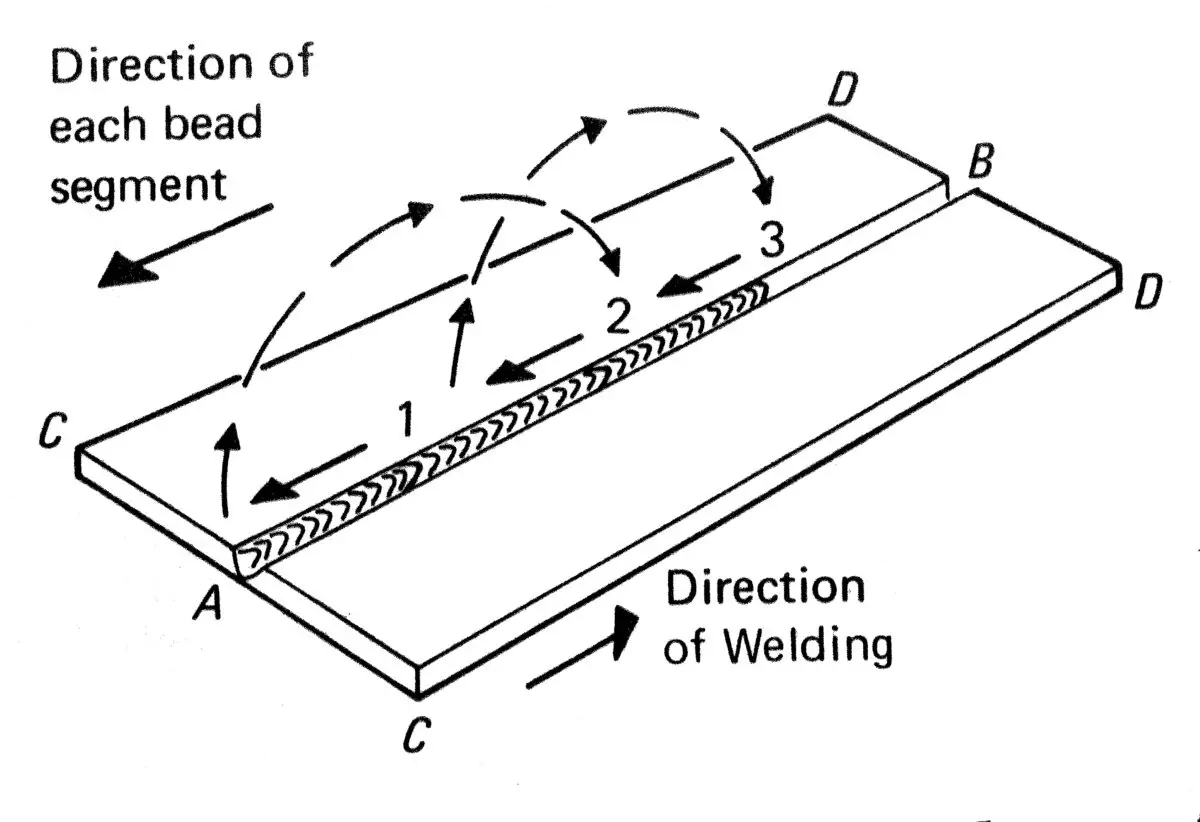
Then, start going over the exhaust pipe. Use low heat and techniques that allow for even heat distribution across the exhaust pipe. Concentrating heat in one place will cause you to burn through the metal. Two welding techniques that are great for this are backstepping, or welding short welds in a row, and staggering.
As you weld, give the pipe time to cool completely – this will help prevent burn-through.
Once the pipe is welded, break down your set-up and finish your weld. Turn off your welding machine, unclamp the earth lead, and let it cool completely before moving.

3. Clean and Finish
Once your exhaust pipe cools and the air in your workshop circulates, you can finish it so it will be ready for use again. Cooling usually takes one to two days.
After it cools, check for any cracks or holes in the weld. If you notice any, you’ll have to repeat the weld.
If you care about the appearance of your exhaust pipe, now is when you would grind and buff the weld joint for a smooth finish.
Tips and Tricks
Here are some additional tips to make it easier to weld your exhaust pipe.
If you can, practice on some scrap metal of similar thickness first to master the technique.
As you weld, keep a two-handed grip on your work cable. This gives you more control over the heat application. Since the filler metal is automated in MIG welding, you have both hands free for this.
Mistakes to Avoid
Here are some common mistakes to avoid when welding your exhaust pipe.
Don’t be afraid to get up close and personal with your exhaust pipe. It is a nasty piece of your car, but if you stand too far back, the heat dissipates, and your weld won’t be as effective.
Don’t skip tack welding because you want to finish faster. Tack welding is the best way to hold your exhaust pipe in place as you work.
Final Thoughts
If you notice a problem with your exhaust pipe, you can fix it with a MIG welder. Ensure your car is turned off, and use low heat and consistent welding techniques to weld the pipe.
