The five more common weld joints for beginners include butt, lap, edge, tee, and corner joints.
The weld joint is the fundamental building block of modern construction. Welding has become an integral part of most industrial activities, and with good reason: it’s fast, strong, versatile, and economical.
Many different types of weld joints can be used for various situations. The following article will discuss choosing the right type for your project based on its features and intended use.
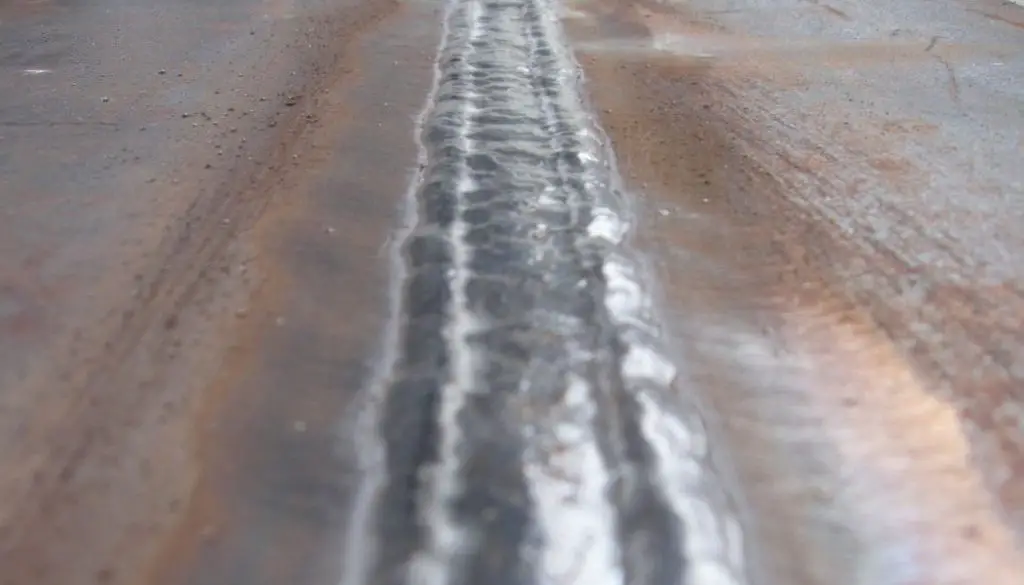
There is a huge variety of weld joints, but the following are the most common types.
Table of Contents
1. Butt Joint
The simplest type of weld joint, a butt joint is a seam formed between two pieces joined together at their ends.
This is the most commonly used method for welding pipes and steel bars since it can easily bear large amounts of force without cracking or bending out of shape. Butt joints are particularly useful for joining things together in corners.
Although wedge-shaped seams can be made with this technique by removing metal along one side, they tend to be weaker than T joints due to lower surface contact points between each piece.
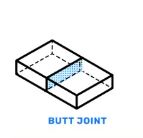
Different types of Butt Joint
- Single and double U joint
- Square Butt joint
- Single and double Bevel groove join
- Single and double V-groove joint
- Single and double J weld
2. Lap Joint
The lap joint involves joining two pieces along their lengths with extra metal overlapping.
This type of weld joint is often used when it’s necessary for both parts to remain attached after separation or if they are intended to be separated again in the future.
Its major advantage lies in its flexibility, allowing each part to move independently without damaging either during use. The objective determines whether the lap joint is butt, overlap, or lap.
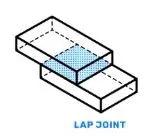
Different types of Lap Joints:
- Spot
- Bevel-groove
- Fillet
- J-groove
- Bevel-groove
- Plug
- Slot
3. Tee Joint
The T joint is one of the most common weld joints for welding pipes together. The seams are formed with two pieces joined together perpendicularly at their ends. This method allows you to create a durable connection that can easily bear large amounts of force without bending out of shape.
It’s also possible to form a triangular opening in each piece’s center by cutting them before joining them together. This feature comes in handy when building structures containing overlapping components since it makes room for more elements between the seams.
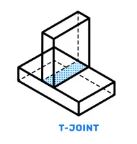
Different types of Tee Joints:
- Fillet
- Melt-through
- Flare-bevel
- J-Groove
- Plug
- Slot
- Bevel-Groove
4. Corner Weld Joints
This type of weld joint differs from the butt, lap, and T joints in that it forms a 90-degree angle between two pieces. This provides each part with more support than other types, so this type is particularly useful when building large structures or objects intended to bear considerable amounts of weight.
It’s also possible to form T joints by cutting slits into the ends of two pieces before joining them along their lengths. The objective determines whether the cut closes up once joined or makes room for an opening in the center.
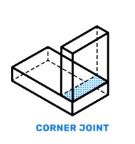
Different types of Corner Joints:
- Corner-Flange
- Butt
- Spot
- Fillet
- J-Groove
- V-Groove
- Flare V Groove
- U-Groove
- Edge-Flange
- Bevel Groove
5. Edge Joint
The edge joint is one of the simplest weld joints since only two pieces are involved. Each piece is cut along its length to form it, leaving one unbroken edge to weld together.
This type of seam is less durable since the only contact points are at its ends. However, it can still bear considerable amounts of force without extra preparation.
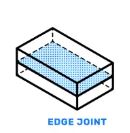
Different types of Edge Joints:
- Corner-Flange
- Square-Groove
- J-Groove
- V-Groove
- U-Groove
- Edge-Flange
- Bevel Groove
Welding Positions
Along with the different types of weld joints, there are also different positions to consider when welding.
Flat position
These are the most common welding positions, where you’re standing at a 90° angle to your workpiece with your arms extended straight out. Its simple setup is also the easiest position for beginners and professional welders to maintain for extended periods.
Horizontal position
The horizontal position involves welding with your arms at a 90° angle to the workpiece. This orientation is similar to the flat position but provides more access to vertical components, which can prove helpful when building tall structures.
Vertical position
The vertical welding position is used for welding objects along their length and perpendicular to your body. This orientation allows you to weld tall objects without bending over, which can be easier on the body than on other positions. It’s also possible to move back and forth between different types of weld joints while working in this setup by rotating the object slightly as needed.
Overhead position
One of the toughest weld positions is the overhead welding position, which involves holding your arms over and behind your head. This can be useful for some jobs but is more challenging than others.
When welding in the overhead position, practicing your technique and maintaining good posture as much as possible is important. This can help prevent injury by reducing strain on your body and preventing common fatigue issues such as cramps and pain.
