When people think about welding, one of the first pieces of equipment they think of is a welding machine. How else will you weld if you don’t have a machine that creates the heat necessary to bond two metals together, usually by melting them into a plasma state?
However, one of the definitions of welding is to combine two parts into a whole, which means you don’t necessarily need a welder. Whether your machine happens to be broken, you’re working in a bare-bones setting with limited equipment, or you’re just starting and haven’t gotten your own welding machine yet, you can still join two metals together with a little bit of knowledge and preparation.
You can get creative with the methodologies for joining metals and surprise people with your welding skill—no welding machine required. Here is a complete guide to how you can use this technique.
Table of Contents
Why You Would Want to Weld Without a Welder
You might be asking yourself why learning to weld without a welder is necessary. Why make your life harder when readily available equipment can easily join two metals? There are a few reasons why you might want to skip the welding machine.
One important consideration is the availability of equipment. Welding machines are relatively pricey, so you might not have one yet for your workshop but still want to work with metal. They also require lots of space and extra equipment, such as welding tables and safety gear, so getting one is a commitment, especially if you don’t know if you are planning to stick with welding long-term.
Even if you have a welding machine in your workshop, you never know when you might be someplace where you don’t have access to a welder but still need to do some important repairs. It helps to have these techniques at your disposal so you are not dependent on the equipment around you to get your projects done.
Finally, welding is not always best for joining two pieces together. Welding does not work perfectly with every material. It requires a lot of skill, and making a mistake at any point of the process, from delivering the wire to moving the bead wrong, can ruin the piece you are working with. It is also very expensive to source the supplies needed, and you may not want to waste your welder on a simple project, even if you have one at your disposal.
For those reasons, even if you adore your welder and think you will use it for every project, it’s good to have at least an idea of how to weld without a machine.
Materials to Connect Without a Welder
For joining certain materials, you probably need a welding machine. For others, you can get away with welding without a welder. Some materials even do better when you don’t use a welding machine due to their material properties. If you want to put together a project but don’t have a welder, here are some materials you can use to make your life easier.
Precious Metals
If you are working with precious metals such as gold and silver, it’s better to connect them using another method, such as brazing, instead of welding. Precious metals are far more delicate than other types of metals, so they do better with a gentler form of joining.

Copper
Copper is another type of metal that performs well even when you don’t have a welder on hand. It is softer than other types of metal, such as steel, meaning you don’t need an actual welding machine’s high heat and strength to join it together.
Aluminum
Aluminum is another metal you can join through other methods besides a welding machine. It is much softer and more flexible than other types of metals. While guides exist to help you weld aluminum, it is easier to use other methods of joining this material, especially if you are a beginner.
This list gives you a few materials to work with, but it is by no means exhaustive. Other metals that you can join using this technique include:
- Steel
- Nickel
- Bronze
Ways to Weld Without a Welder
You can use a few different methods to connect two materials without a welder. Here are the most important ones.
Using Glue
One of the simplest ways to connect two materials is by using glue. It is affordable, easy, and doesn’t require a lot of skill. While you may be experienced in using glue to connect wood or plastic, few people know that you can also use glue to connect two metals. The joint is often just as strong as when you use other forms of welding.
The most important step is to pick the right glue. Special adhesives are designed just for working with metals, such as super glue, acrylic metal glue, epoxy, and anaerobic metal adhesives. Make sure you use the right adhesive for the type of metal you work with. JB Weld is a popular epoxy adhesive.
Cleaning your workstation and the pieces is super important when using glue to join metal. You don’t want stray particles to get stuck in the glue, messing up your bond. Clean the workstation thoroughly. Clean the pieces with a cloth or by sanding them down so the surface you are bonding is smooth. Then, apply the adhesive and let the pieces cure by holding them together. Make sure to follow manufacturer instructions carefully.
Using glue is easy and affordable but not always the most secure option. If you want a sturdier weld, use one of the following options.
Brazing
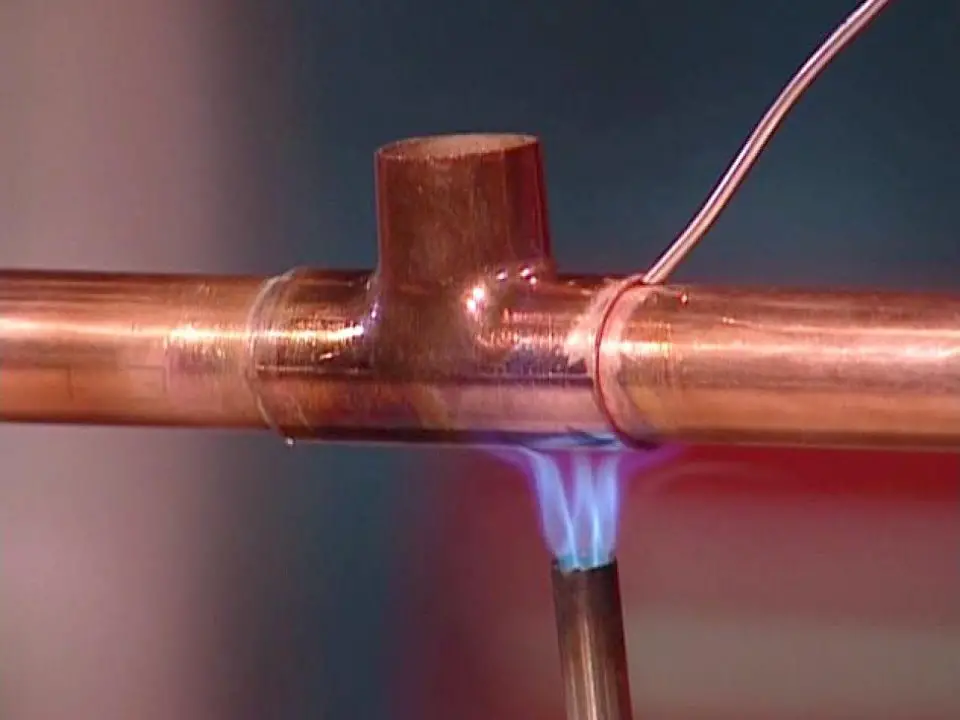
Brazing metal is actually very similar to welding. Both methods use a filler material or flux. Both methods use high heat to melt the material.
However, brazing requires melting the filler material, so it glues the pieces together, not the metal you are working with itself. As such, it requires temperatures of only about 800 degrees Fahrenheit, compared to welding machines that heat metals to thousands of degrees. Brazing also requires less equipment and space than welding.
It is a bit tougher than using glue or some other methods on this list, but easier for beginners. Brazing is a great alternative if you are looking into learning methods for joining together metals but don’t feel comfortable with full welding. There are also several methods for you to choose from depending on your equipment and preferences, such as torch, vacuum, and dip brazing.
Once you choose which type of brazing you are using to join two metals, here are the basic steps you need to follow.
- Prepare your materials. For brazing, you must thoroughly clean the edges of the metals you work with. Some guides recommend chamfering or cutting away part of the edge to make a slope.
- Prepare your workspace. Make sure all your safety equipment is in place. Clear away junk that could get in the way of your work. Clamp the pieces you are working with to your tabletop.
- Add flux. Flux ensures that your metal doesn’t oxidize, which is an important part of the brazing process.
- Preheat the metals. Using a tool such as an acetylene flame, preheat the two metals you are joining together to about 800 degrees Fahrenheit.
- Add the filler metal. Once the metal is preheated, let it sit for about five minutes. Then, add the filler metal. It should melt due to the residual heat of the pieces. Join them together.

Soldering
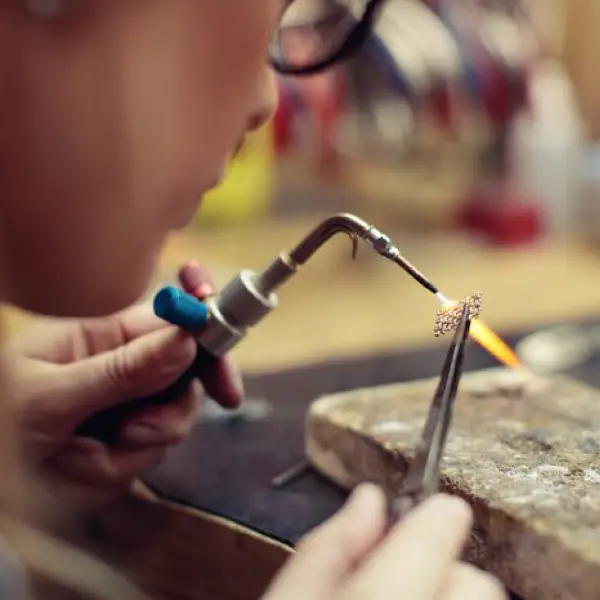
Soldering is the act of bonding two metals using solder, a tin or brass-based alloy with a low melting temperature. It is often used in delicate applications such as electrical circuits or jewellery making.
Soldering is very similar to both brazing and welding. It also requires some heat and a filler material, just like brazing.
However, it differs from the other two methods in a few important ways. Soldering only uses one specific filler material, called solder, while with brazing and welding you have more choice of filler alloys. Soldering requires lower heat than welding or even brazing, making it ideal for more delicate metals or applications. Finally, it requires less equipment—only a soldering iron and solder—making it a better choice for beginners.
If you decide that soldering is the best choice for your welding needs, here is the process you need to follow.
- Prepare your equipment. Preheat your soldering iron, as it needs time to reach the right temperature. It should reach a temperature of about 600–700 degrees Fahrenheit.
- Prepare your materials. Meanwhile, prepare the metals you are joining together. Sand the edges, as soldering only works with very smooth edges. Clean off any debris. Add flux to the surface to prevent oxidation.
- Wipe the soldering iron tip. Use a brass sponge if you have it. If you skip this step, the solder could oxidize, ruining your project.
- Start soldering. Put the tip of your soldering iron where you want to join the metals. Apply the solder by touching it to the tip of your iron. Let the solder melt and flow into the joint you are trying to combine.
- Let the metal cool. Once satisfied with how the joint looks, remove the solder. Let the iron stay for a few seconds to really heat the metal, then take it away as well. Allow your project to rest undisturbed.
Riveting
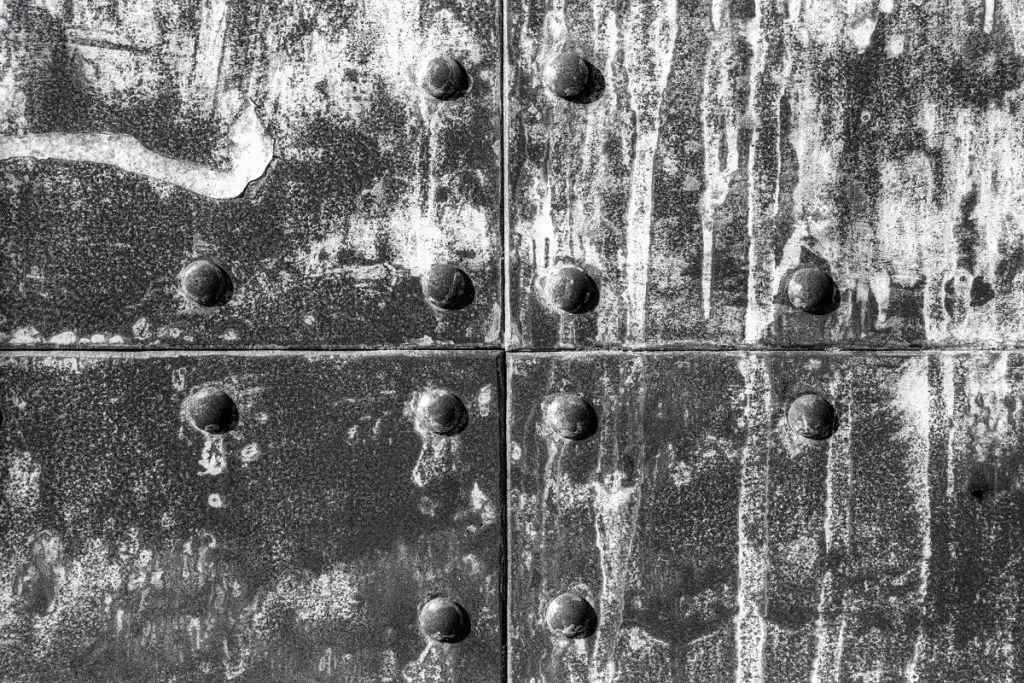
Riveting is different from welding, brazing, or soldering because instead of using heat to join two metals, it uses a fastener called a rivet. Rivets look like long cylinders with rounded bits on one side called the head. The rivets are placed into holes drilled into the sheets. Then, the tail end of the rivet is smashed to create a flat head, holding the fastener in place.
Riveting is used mostly for heavy industrial applications. If you know the famous Rosie the Riveter poster, it was meant to depict a woman working in weapons manufacturing, after all! If you have riveting equipment on hand, it is a very secure alternative to welding. It is easy to pick up but requires heavy-duty equipment.
Here are the basic steps for riveting:
- Gather your rivet gun and rivets.
- Drill the plates. You want to create holes in the metal pieces you are joining together so the rivets can fit. Make sure the holes are the right size.
- Assemble. Place a rivet into your rivet gun, then squeeze it into the hole you just drilled.

Bolts and Nuts
Another method of using fasteners to connect two metal pieces is using bolts and nuts instead of rivets. Bolts are cylinders with spiral threads and a raised head that are used to join two pieces together. Nuts are small pieces, usually hexagonal, that fit around the bolt head and hold the pieces in place.
Using bolts and nuts is very simple since you don’t need any heat or messy, dangerous equipment. You can easily pick up this technique and get the materials. However, it is not as secure as some of the other methods.
- Drill a hole. The first step is to create a hole for your bolt to fit into. Make sure the hole is the right size for your materials and aligns with the hole on your other metal sheet.
- Insert the bolt.
- Using a wrench, tighten a nut around the head of the bolt.
Equipment Needed
Depending on your welding method, your equipment list will be different. However, there are some things you will need, no matter what technique you use. These include
- Safety equipment such as gloves and goggles
- Cleaning equipment such as sandpaper and brushes
- A good work stand or table
- Clamps
Final Thoughts
You don’t need a welding machine to weld two metals together. Depending on your project’s metal and nature, you can use glue, brazing, soldering, riveting, or even nuts and bolts.
