For beginners: practice on scrap metal, maintain proper body positioning, choose suitable welding techniques, clean and prepare surfaces, maintain appropriate travel speed and angles, wear proper safety gear, and learn from experienced welders. Patience and consistent practice will improve your welding skills over time.
If you have a passion to learn how to weld, you might find it helpful and read my 7 tips for first-time welders. they are written from my experience, and I hope you will find them useful.
Table of Contents
1. Know the fundamentals of welding
The process of welding is simple. It consists of heating two pieces of metal to the point they melt. The molten liquids combine in the weld pool and become one when the molten metals solidify.
The third source of metal, also known as filler, is usually introduced and melted with the two base metals to add to the total mass of the weld. These filler metals will be electrodes, filler rods, or continuously fed wire, depending on the chosen welding process.
Done correctly, a weld will have no imperfections such as pinholes and will tie in nicely with the base metals on its outer edges. A good weld will also have penetrated through the bottom of the base metals and completely fused them.
TIP: Check my post about few basic welding terms.
2. Decide which welding method to learn first
It’s a personal preference, but learning to arc weld with an electrode is a great place to start. One thing you need to consider, however, is what kind of projects you plan to work on.
There is no single method of welding that is best for all applications.
Considering the top three welding methods, there is some crossover between them, but there are also specific things that each one does better than the others.
- TIG welding is the choice for welding Chromoly, brass, copper, magnesium and titanium. The welding of aluminum requires either the MIG or TIG method. But, you will need a stick welder to weld cast iron.
- You can pick from all three methods if you choose to weld steel or stainless steel. Remember that it will take considerably longer to weld steel with a TIG welder than with a MIG or stick welder.
- If you are welding outside or in drafty areas, you won’t want to MIG weld steel unless you switch to a flux-core wire first.
- If you plan on welding up to 1/4″ to 5/16″ thick metals outside or in the barn with the doors open at the farm or ranch, you will probably be happier with stick welding.
- Working with thinner steel and being indoors with almost no breeze to speak of, then it’s probably best to learn MIG weld first.
Don’t be intimidated by the choices, as hobby welders work exclusively with steel. Thus, narrowing down your welding methods to Electrode or MIG methods.
The modern equivalent of my 30-year-old AC/DC shop welder, which I still use regularly, is the Lincoln Electric Stick welder pictured below.
The MIG welder I use in the shop is the Lincoln Easy MIG 180:
TIP: Check my post about types of Welding.
 3. Protect your eyes when welding or observing
Never look directly at the welding arc, even for a split second without a welding helmet. Even as a bystander, indirect exposure to the welding arc can damage your eyes.
A quality welding helmet is a must. Whether you plan on observing a welding instructor, friend or mentor, having your own welding helmet is a good idea. Don’t get discouraged by the assortment and price ranges available.
Start with a good auto-darkening helmet with an adjustable shade feature. A good one can be had without breaking the bank. Your eyes are one of the most treasured pieces of equipment you own.
Check the best 3 helmets I recommend:
Lincoln Electric Viking Auto Darkening Welding Helmet
- Large 12.5 Square Inch Auto Darkening Lens
- Premium Optics with a Crystal Clear View
- Comfortable Adjustable X6 Headgear
- 3 Year Warranty
Antra AH6 Auto Darkening Welding Helmet
- Full Face and Neck Protection
- Highly Responsive Arc Sensors
- Extremely Lightweight Design for Reduced Muscle Fatigue
- Sonar Panels Extend Battery Life
YESWELDER Solar Powered Auto Darkening Welding Helmet
- Suitable For TIG, MIG, MMA
- 8 Square Inch Viewing Area
- Comes with Replacement Lenses
- Comfortable Pivot Style Headgear
- Get 10% Off with Discount Code 'BWG' at Yeswelder.com
Or read my complete post and check my selection of the 10 best welding helmets currently available.
As a new welder, your experience will be enhanced with the adjustable shade feature. Watching someone else weld is a great way to familiarize yourself with its effectiveness.
This allows you to adjust the shade on your helmet under fire without being distracted. Your weld quality should improve quicker by having the ability to see what you are doing with more clarity.
NOTE: You don't want the adjustment to be too light to the point the arc blinds you. On the other hand, too dark and you won't be able to see where you are going with the weld.
4. Find a welding mentor
If available, plan on taking welding courses. A good mentor could prove invaluable if that is not your option. That could be a friend or acquaintance with experience in the type of welding you would like to learn first.
As previously stated, I suggest you first learn electrode, a.k.a. “Stick,” or MIG welding. Interacting with another individual by asking questions specific to your understanding will help you learn much faster.
But there are other ways to learn the fundamentals if you don’t have a mentor.
A great set of beginner training DVDs starting out with the stick welding process are the Steve Bleile Arc Welding I and II videos.
Even if you have a mentor, being able to reference back to fundamentals introduced by a seasoned welder like Steve might keep you from picking up bad habits that you will have to unlearn later.
5. Practice, practice, practice
Spend some time in the beginning simply laying beads on top of a single piece of thicker steel. Concentrate on the pool, the small molten metal pool at the arc’s base. Generally speaking, the pool should be fairly round.
Welding is all about the pool and how the welder forms and maintains it. Stacking dimes is a term coined to describe a good weld. Imagine a dime on its side at a very slight angle with a slightly elevated trailing edge.
Now imagine that dime with half its mass below the surface of the metal being welded and the other half above the base metal. Now imagine a string of dimes overlapping each other for the weld length.
You will have stacked some dimes if done at the correct amperage, speed, and arc length.
If the bead is narrow and appears to be laying on top of the base metal instead of being part of it, the current is either too low or you are welding too fast.
Conversely, if the bead is more oblong to teardrop shaped with the point of the teardrop at the trailing edge, you may be welding too slow or the voltage may be too high.
TIP: I highly recommend checking my best two welding projects for beginners.

6. Set yourself up for success
Depending on the size and scope of your project, you may find yourself welding out of position at least some of time. But, initially, set up a small welding area was set up, preferably a metal table or something similar.
Sit in front of your base metal with it laying flat on the table. From a comfortable position, get good at creating good beads consistently.
Once you have increased weld quality and feel ready, butt two pieces of metal together edge to edge, leaving a slight gap between them and practice welding them together. Next, set up a tee joint.
Have one piece of metal laying flat on the table with the other sitting perpendicular to it so that you have formed an upside-down T. Weld the two base metals together where they meet up.
Another common joint is the lap joint. You can practice this by laying two pieces of steel on each other and sliding the top piece slightly to one side.
Weld them together at the point where the edge of the top piece runs along the bottom. When you get good at welding these three types of joints, you are on your way to becoming a welder.
7. Welding Protection
Since we have already discussed the welding helmet, let’s discuss other items designed to protect you when welding. UV rays thrown off from the arc will burn all exposed skin nearby.
Make sure your neckline and upper arms are not exposed. The resulting burn is much like a very bad sunburn.
Glowing red hot sparks and molten metal falling from the welding area will do a number on your skin and clothing not designed to handle it.
If you have ever had a hot spark land on your tennis shoe and burn through it and your toenail below…you get the idea.
In addition to your leather welding gloves, wear long-sleeved, heavy cotton, button-down shirts, and blue jeans at a minimum. I recommend FR or flame-resistant clothing.
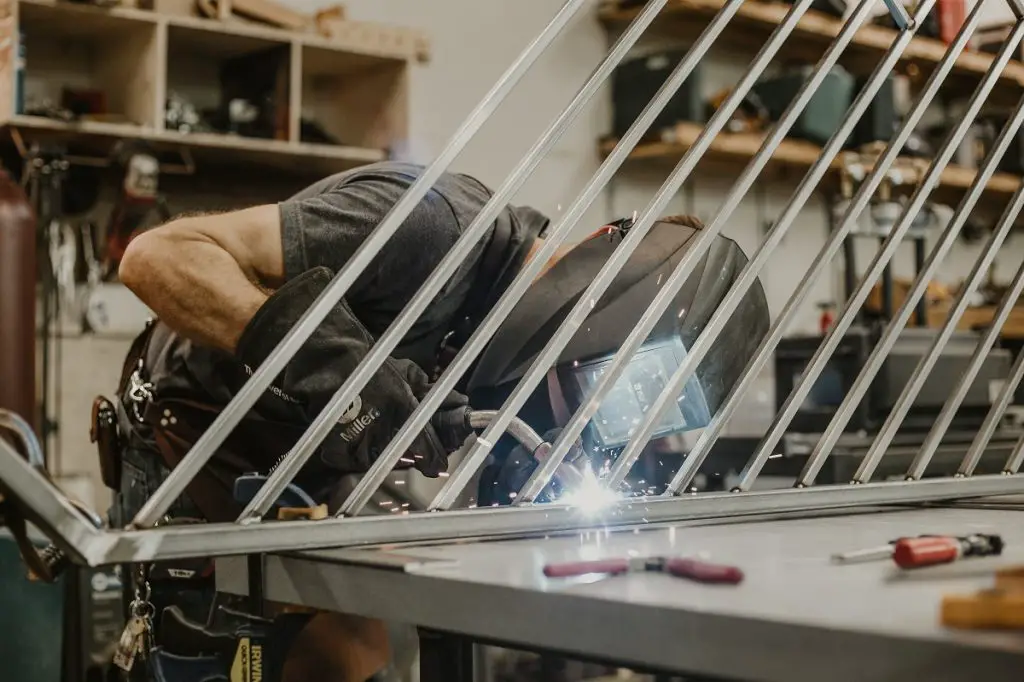
A great welding shirt with a closed collar at a great price is the Miller Electric Welding Jacket.


